Showing posts with label Glitzin' Glamour Glitter Glue. Show all posts

Monday, December 9, 2013

Awesome Teachers Gift by Tracey Cooley


Hi Creators

Tracey here with another classroom creation... Every year I struggle with what to buy teachers for Christmas but find that this little box of goodies is a favourite of mine as it is somewhat useful.... I think!

 
I purchased this craft organizer from my LSS and filled it full of stationery items like paperclips, erasers, push pins etc and in the empty spots CHOCOLATE!
I then used some school pattern paper that I had in my stash to decorate the top of the container. Adhering it to the container with Couture Creations 18mm Double Sided Tape ( I love this wide tape for projects like this, it assures a really strong bond)
 
 
Using my Couture Creations Nesting dies I cut some random shapes from matching Pattern Papers... Victorian rectangle, circle and after printing a quote (I am a teacher what's your super power?) a scallop rectangle.
 

 Ink edges if desired and place wherever you think they look good on.


To personalise my box of useful bits and bobs I have taken some chipboard letters and painted them black then let them dry... Then I have coated them with Couture Creations Glitzin Glamour Black and then mixed in a little of the Glitzin Glamour Crystalina for a bit of extra sparkle without over doing it, then let it dry,
***TIP: mixing your Glitzin Glamour colours together will give you different shades and some very pretty effects..
Once your Glitzin Glamour is completely dry coat with dimensional magic and let dry... For extra depth of field and ultra shine complete a second coat of Dimensional magic.
 
Once finished it will be a gift fit for any Super Teacher!
 
Wishing you a very Merry Christmas and a Safe and Happy New Year.
and don't forget to Keep on Creating!
 
Don't forget to enter our
12 days Giveaway
We have 3 Couture Creations Prize Packs valued at $50AUD each to giveaway
all the Details on how to enter are HERE
 
http://jordayla.blogspot.com.au/

Thursday, November 28, 2013

Christmas Tree Ornament by Dana Tatar


Hi Couture Creations fans! Dana here today sharing a Christmas ornament that I created with pieces of embossed chipboard. This project started out as a mini album kit. Instead of using the triangular tree portions as pages, I glued them all together to create a fun and colorful ornament for the tree!


I embossed each section of the tree with the Wild Holly Embossing Folder. I painted the front and back of each piece with a light coat of gesso and then a colorful Gelato. I highlighted the embossing with Silver Inka-Gold. I dipped the edges of each colorful tree segment in white acrylic paint for a frosty feel. Once the paint was dry, I glued the sections together to form the tree. No Christmas tree is complete without bling, so I embellished the tree with Moonlight Self-Adhesive Pearls and Silver Glitzin' Glamour Glitter Glue.


I created a photo frame for the back of the ornament with the Scalloped Oval and Oval Nesting Dies.


I finished embellishing the back of the ornament with a stamped sentiment and Moonlight Self-Adhesive Pearls.

Thanks so much for stopping by today!


Couture Creations Supplies:
CO723593 Wrapped In Joy Collection - Wild Holly Embossing Folder
CO723045 Scalloped Oval Nesting Dies
CO723044 Oval Nesting Dies
CO721998 Moonlight Self-Adhesive Pearls
CO721970 Silver Glitzin' Glamour Glitter Glue

Monday, November 25, 2013

Miracle by Patti Hamil

Today I wanted to share a layout of our Granddaughter right after she was born! She is almost five months old now, time is passing too fast! I wanted a soft look so I kept the colors neutral with pink and a little bit of green.


Here are some close-ups of the details. I used the Poetry folder from the Elegance collection on a soft pink cardstock and then inked over it with white. It just suits the sweet photo!


I made the blooms from the Daisy Nesting Die! I used some chalk ink, Glitzin Glamour and Pearls!!!


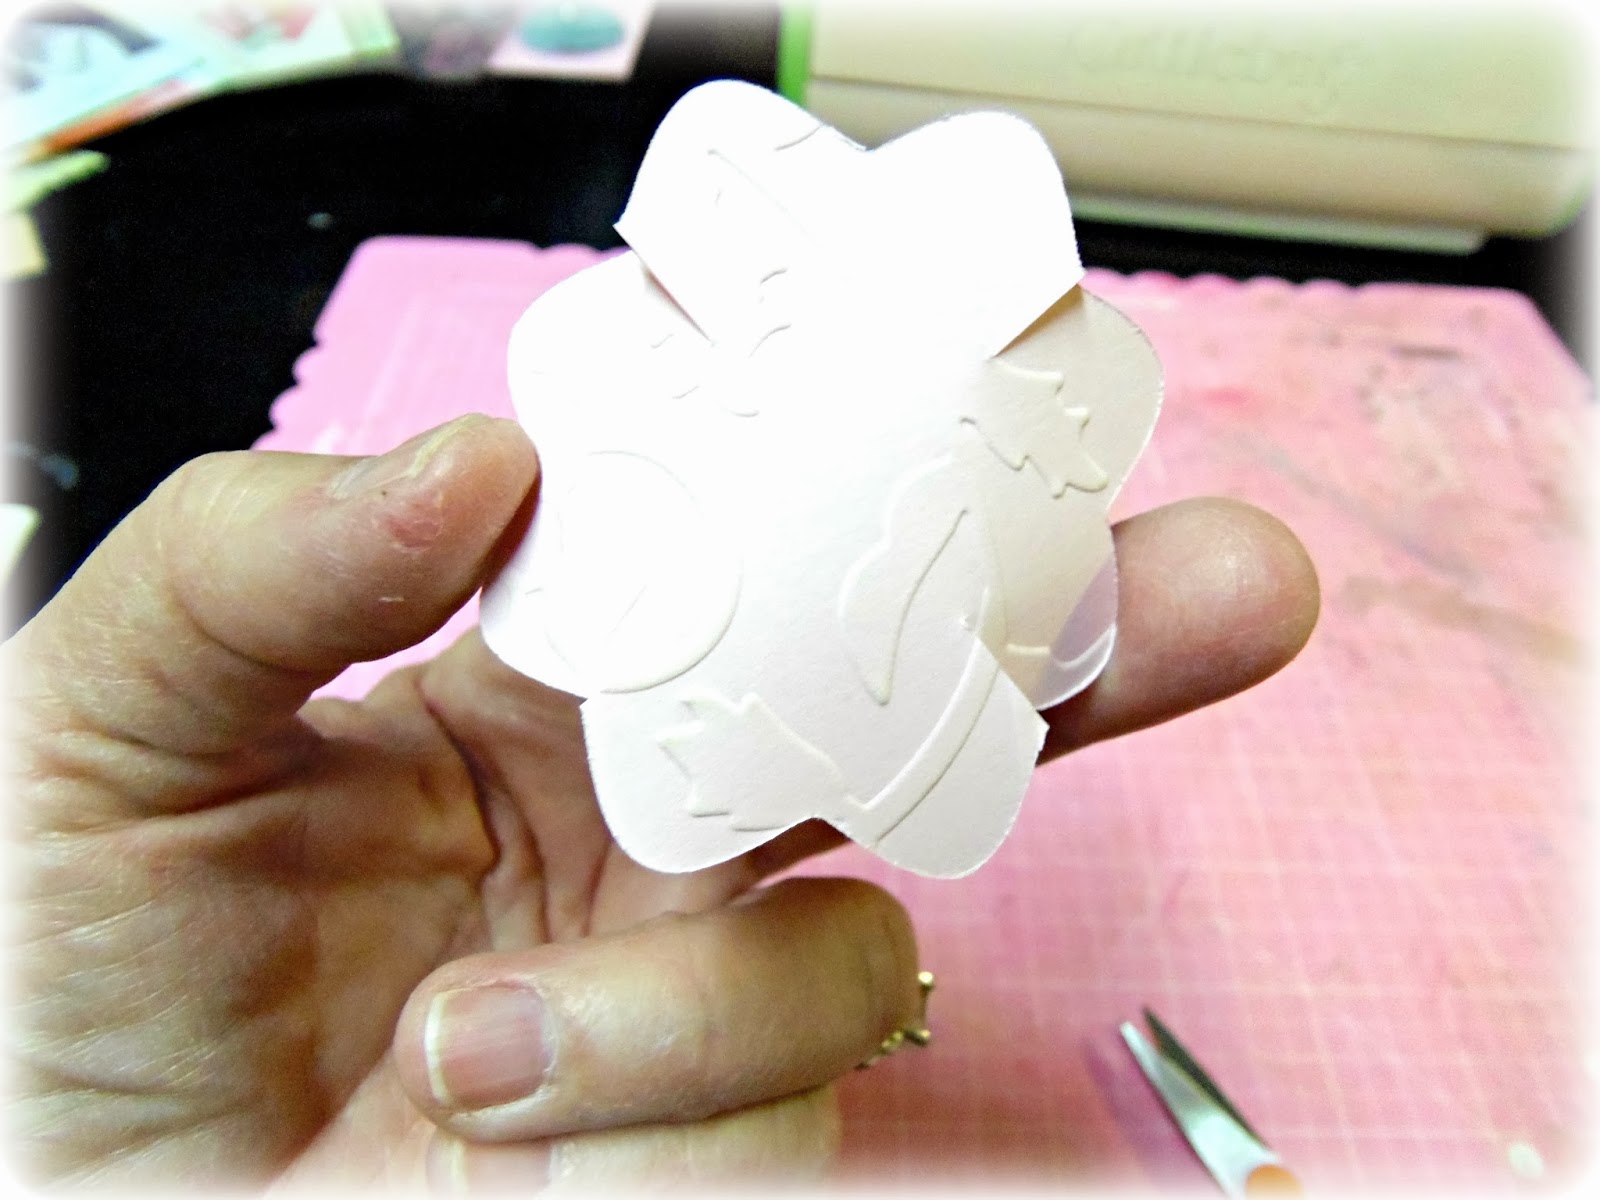
Start by snipping into every second petal as shown below:


 Trim each side of the double petals to look like the one below, ink across each section and in the center.


Add a pearl and Glitzin Glamour around it to finish off the bloom! 


Couture Creations products used:

Sunday, November 10, 2013

Christmas Is Coming by Lesa Bird


It's Starting to feel a little bit like Christmas, so today I've done a quick
Christmas 2013 cover page with the help of Couture Creations


First using Couture Creations Sanding block, I've sanded the edges of Core'dinations white wash cardstock for the base of my layout


Cut out 3 sizes of Circle Nesting Dies to make your baubles, I've used Core'dinations Glitter cardstock, for that touch of bling


For the top of our bauble, cut the second smallest Couture Creations Scallop Circle Nesting Dies, cut it in half, then into smaller bits to make the bauble tops


For a little extra shine, add a few Couture Creations Adhesive Gemstones, I've used Crystal


 Finished Baubles


Cut out 3 flourishes using Couture Creations Sophia Collection; ATHENA, and 2 Sophia Collection; PUCCI, hit the tips of your flourishes with a little Black Glitzin' Glamour Glitter Glue for a bit of pop


Use the 3 smallest Couture Creations Sunflower Nesting Die, cut half way down each side of all the petals, and then pinch each one together, to create our Christmas flowers, spray with a little adhesive and dust with glitter

Add at good amount of Rainbow Glitzin' Glamour Glitter Glue to the centre of your flower.


For my title I cover some Chipboard letters, in black paint, them covered them with Black Glitzin' Glamour Glitter Glue to add a little shimmer.
 

Now it's time to put it all together, to your style, hope you have fun.


Couture Creations product used ;
 
C0723212     Sunflower Nesting Die
C0723040     Circle Nesting Die
C0721985     Double Sided Tape 6mm
C0721965     Double Sided Tape  18mm
C0721957     15x15 Self Healing Mat
C0723060     Sanding Block


Stay Safe and Enjoy your Day


Friday, November 8, 2013

Christmas Centrepiece and Bon Bons by Kerrie Gurney

Hi everyone it is my turn on the blog again and with less than 7 weeks until Christmas I thought it was time to start creating some décor pieces. This Christmas I am repeating my theme of Red, Cream/White and Kraft that we had last year as I loved it so much, with lots of old book paper thrown in.

I have used Couture Creations Magical Christmas Eve Decorative Die for both of these very easy projects.

Bon Bons

When I saw these Bon Bons in the store I knew they would be perfect for our Christmas theme but they were a bit boring and needed a bit of something added to them to give them a bit more Christmas feel. I wanted something that didn't take a lot of effort as these would be tossed in the bin after they had been pulled open on Christmas Day.
My solution was to add  some die cut poinsettia flowers to these store bought bons bons taking them
from drab


 to fab
 
 
with not much effort, you could add more embellishments if you like but as they will just be thrown out I thought this was enough.


To create the poinsettia flowers using red cardstock run the dies through a die cutting machine and then while leaving the cardstock still in the die, run it through the machine again using the Couture Creations Latex Embossing Mat to give the flower petals embossed detail.
 
 
then pinch the petals to give them more character


As these bon bons will be thrown out once pulled apart, I only used one each of the large and small petal die cuts, diecutting the middle piece from gold cardstock and adding some Red Glitzin' Glamour Glitter Glue to add some sparkle.

Table Centre Piece
 
Starting with a store bought pine table centre piece
 
 
 hot glue some glitter baubles and some poinsettias created from old book paper. Create the poinsettia flowers the same way as the red poinsettias but to save time you can die cut 4 pieces of book paper at a time book paper it is quite thin so you can cut 4 sheets at a time. To create a fuller poinsettia flower use two large and one small die cut petal for each flower, die cut the centre from gold glitter cardstock.


Here is a close up look at the candle. To embellish the candle just add some pleated hessian, tie some jute string around the middle of hessian and add a poinsettia flower created using old book paper and gold glitter cardstock for the centre and the leaves.

*Tip use a battery operated candle that way there is no chance of your embellishing catching fire and you won't ruin your trim

Couture Creations Products used
CO723562 Magical Christmas Eve Decorative Die
CO721979 Red Glitzin' Glamour Glitter Glue
CO723514 Latex Embossing Mat


Thanks for visiting and I hope I have inspired you to create some table décor for your Christmas table.

Don't forget to follow us on Facebook
 
https://www.facebook.com/couture.creations.aus
 
 
happy creating
 
http://kerriegurney.blogspot.com.au/


Tuesday, November 5, 2013

Christmas Snow Globe by Sue Smyth


Its that time of year again when we like to make small gifts and special cards for those friends and family who have everything. This is a project that I have done many times before and it always 
looks stunning. Using an Acetate sheet, blue cardstock 
and Couture Creations Embossing folders, you can create your 
very own magical snow globe.


This time I have used Couture Creations Embossing folders to create a snowy scence suitable for
any snow globe.


I have used loads of glitter and white cardstock along with a reindeer punch.


Use the template below, print out on an A4 sheet. Cut out the semi circle
from bluish cardstock and emboss w

Brush over with gesso and spray with Dragonfly and Mallard Glimmer mists.

Cut out base from blue cardstock and emboss as well, rub over white gesso and spray with 
glimmer mists. Allow to dry 

Attach both ends, spray with spray adhesive and sprinkle with lots of 
white glitter.

Attach base 1 to base 2 with masking tape.

Use template for globe, and cut on the fold to form the folded globe top. 
Swipe with white
gesso and allow to dry 

Emboss a small circle with Reindeer wipe with gesso and spritz
with glimmer mists.
Highlight the image with Glitzin Glamour, allow to dry.

Hand cut trees and punch out a reindeer to create a
snowy scene. Cut a rough circle of white cardstock, scrunch up, spray with Adhesive and 
sprinkle with glitter. Allow to dry.
Glue the trees and deer onto this circle and attach to 
snow globe base. 
Decorate the front with paper snowflakes and Couture Creations rhinestones.
Cut out the embossed message of your choice and ink with blue ink.
Scrunch a bit and glue to front.
Use a white paint pen to apply small flakes around the edge of globe

Add pearlized sequin stars around the edge of globe and white fibres 
around the base.

Couture Creations Products


Thanks for stopping by and Keep on Creating!