Showing posts with label Decorative Dies. Show all posts

Tuesday, December 10, 2013

Jolly Christmas Cards by Adriana Bolzon


Hello there everyone, It's Adriana here and
is it my turn again today 
Today I have created another very simple and easy christmas card, for
the background I embossed some white cardstock with the
the new Wrapped in Joy embossing folders 
this one is called
"Jolly Christmas" C0723595.


At the top of the card I used the Diecut 
 from Magical Christmas Diecut collection called
"Tinsel "  CO723567.


I cut a circle from the Couture creations
 Circle Nesting Dies for the bauble.

Adding some ribbon, flower and leaves.


also here is another Christmas card using the
cut to create the square doily background in green pokadot paper.


Thanks for looking :)
Hope you have time to create some christmas cards too.
Merry Christmas to everyone. :)
 

Wrapped in Joy embossing folders CO723595 Jolly Christmas
"Tinsel" CO723567 Magical Christmas Die cut

Please make sure you add your email address to get the latest newsletters.

Don't forget to join 
Couture Creations FACEBOOK

for all the latest updates from Couture Creations.
Thanks for looking
Cheers Adriana xx:)

Don't forget to enter our

12 days Giveaway
We have 3 Couture Creations Prize Packs valued at $50AUD each to giveaway
all the Details on how to enter are HERE

Friday, December 6, 2013

Treasured Memories Canada | Bower Bird Mini Album Class with Pauline Pierantozzi

Couture Creations is very proud to be sponsoring Pauline's class

Date: January 5th
Time: 10am - 6pm
Cost: $100.00
 
Designed by Pauline Pierantozzi from Australia exclusively
Edmonton Canada
Class image
This 9x9 inch mini album takes memory keeping to the
extreme. The book is an eclectic collection of found and
treasured items, with over 12 pages of flaps, pockets and
divided pages to house oodles of photographs.
 
Combining the mini album concept with altered art is what
makes this album unique. The album is attached to a backing
board which resembles as picket fence so that it can be hung
like a piece of art on a wall or stand on an easel. For those
of you who are not sure about an album on a wall, then the
backing board can be removed and the album used on a coffee
table or bookshelf.
 
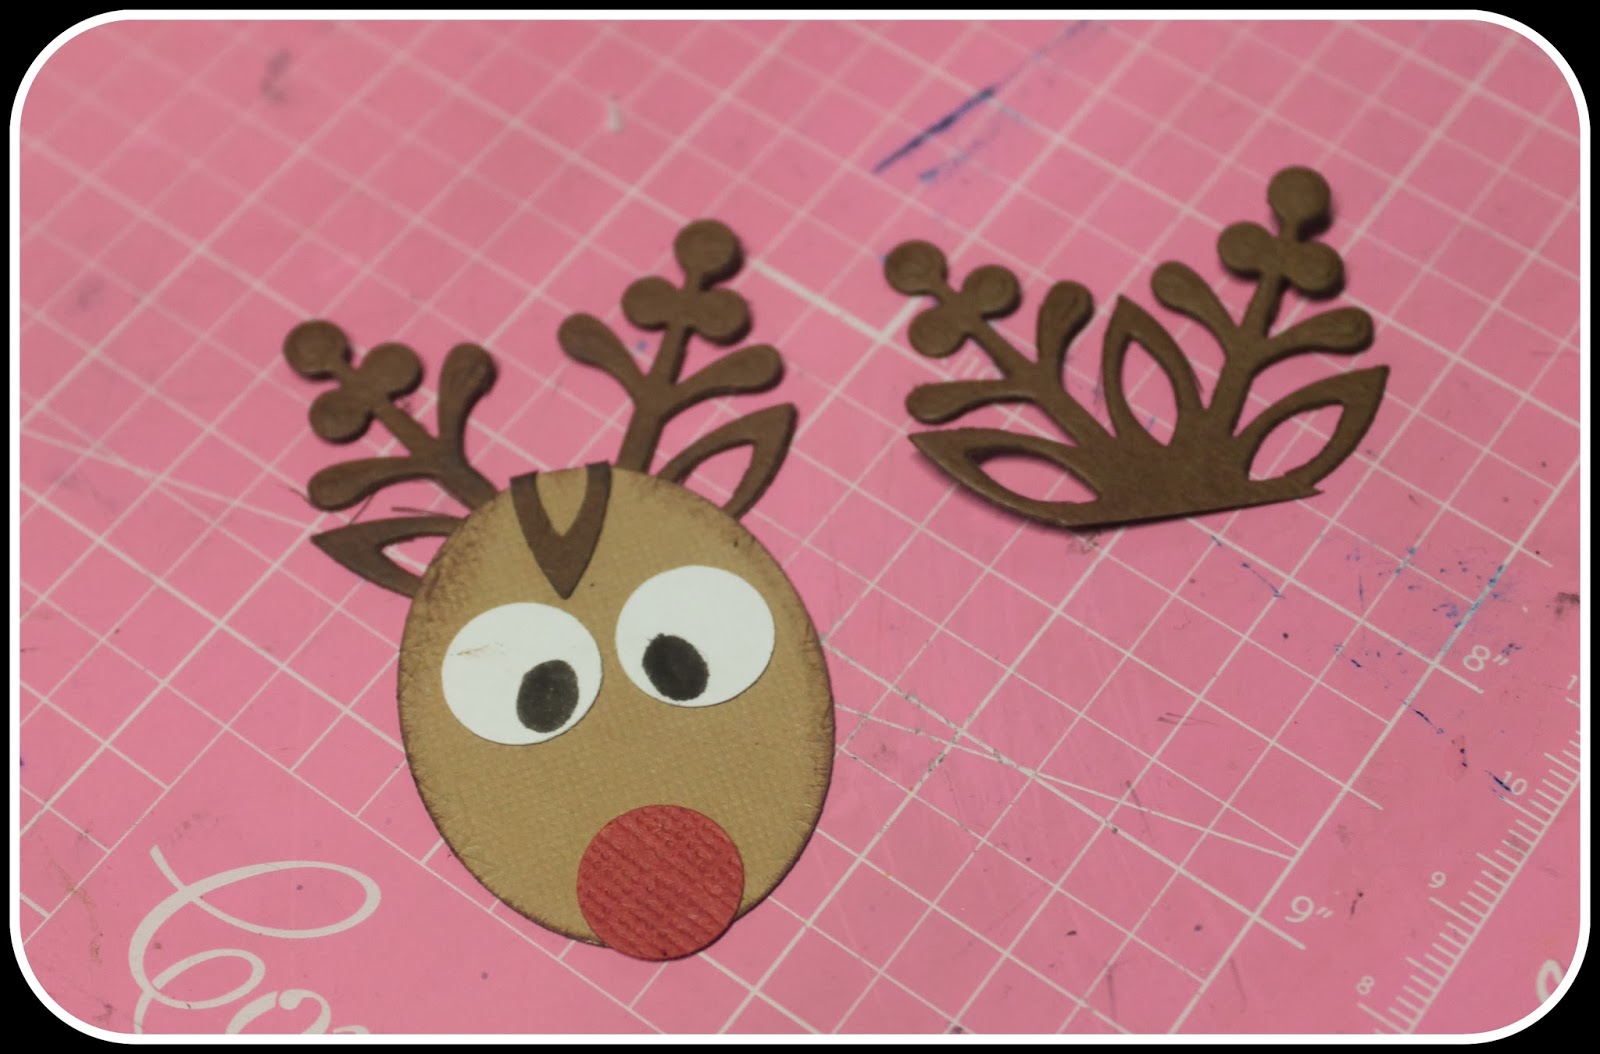
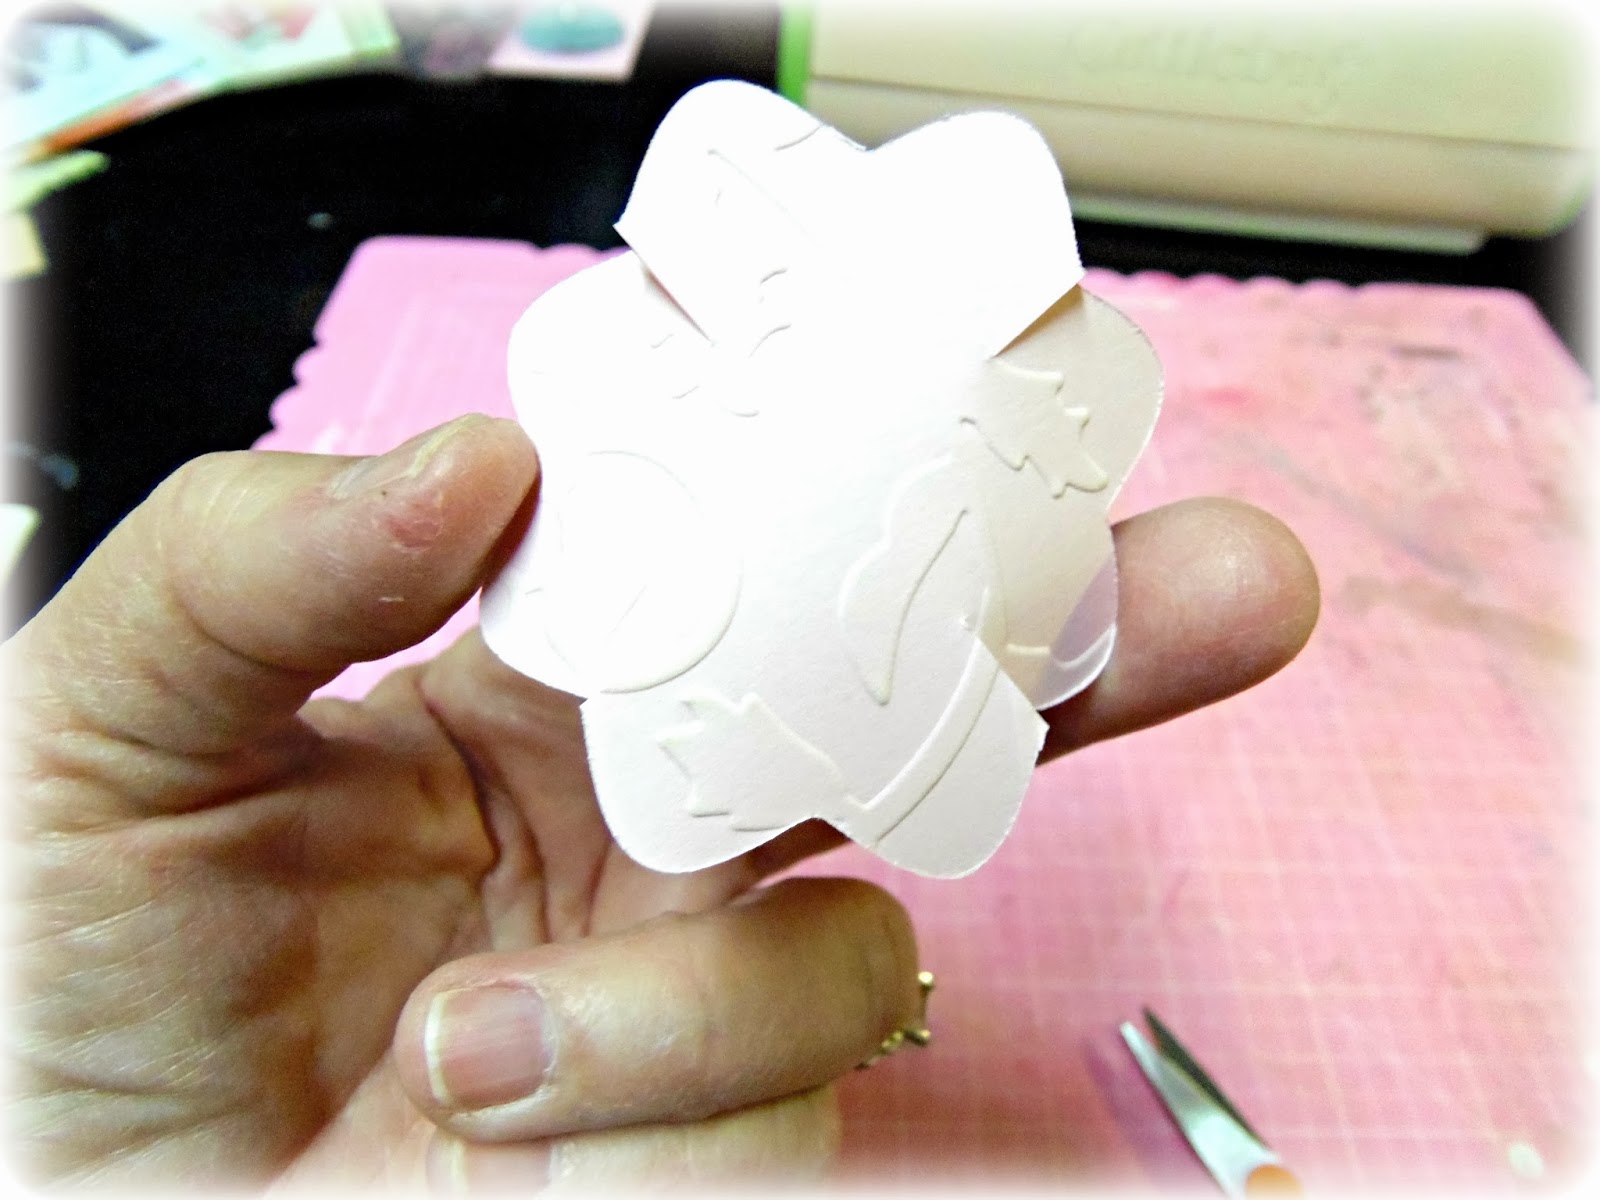
Using a plethora of paper craft products from Australia and
the USA, Pauline has created a showstopper album which
focuses on techniques using embossing, stamping, die cutting,
distressing and more. The Couture Creations paper line that is used in the album
will not be released until CHA 2014 – customers of Treasured
Memories will be the first in the world to use these products.
 
This full day workshop promises to be action packed, fast
paced and a whole lot of fun with an Aussie girl who has over
12 years of teaching experience in Australian stores and paper
craft events. Pauline is known for her compassionate, giving
and patient teaching style.
 
Bookings are essential and kits are strictly limited.
 
Join me on Sunday January 5th
for a full day workshop and
create your own Bower Bird Mini Album.
Pauline
I have been involved in the Australian paper
craft industry in the capacity of educator and
advocate for well over 12 years, resigning
from my teaching position to follow my
passion for all things paper. I live on a
Pineapple Plantation on the Sunshine Coast
in Queensland, Australia with my fabulous
husband Peter, and my two equally beautiful and talented
teenage daughters Jordan and Sidney. Family life and
everything it encompasses is important to me.
 
After being diagnosed with cancer late last year I was even
more passionate about being creative with my memories and
the near thought of not having those memories encapsulated
for my daughters frightened me and the importance of not only
memory keeping for myself but also educating others about its’
importance become my drive.
 
It is an absolute honour for me to travel to Canada and teach at
Treasured Memories – which I am hoping will be the beginning
of my international educator role. Being involved in the industry
for so long has afforded me many friendships with some of
the world’s most compassionate people and when Trisha
Ladouceur recommended me to her favourite scrapbooking
store I was humbled and honoured to be considered so highly.
I hope that you will join me on Sunday January 5th
Memories for a unique memory keeping project and altered art
project.
 
Please Visit Treasured Memories Blog for booking details

Thursday, December 5, 2013

Easy Christmas Card by Bridget Louw


Hi Bridget here again with my last Christmas card for 2013. This one is super quick and easy to make thanks to the amazing range from Couture Creations products.

The card measures 5” high x 5.5” wide.

The first step is to cut some marker blending card with the largest die in the set C0723049 Nesting Dies: Victorian Rectangles


Stamp the Christmas image you have chosen on the shape and colour as desired. Put the image back into the die and lightly sponge/chalk all over. Once you take it out of the die again their will be a very pretty white border around it.

The next step is to cut the layer to go behind the stamped image. For this I put the die on my patterned paper and cut around it with a craft knife, that way you can create a shadow layer just slightly larger than the actual die cut.


Using some patterned paper I cut 2 layers for my card and punched them with a border punch.

I stamped a sweet Christmas sentiment onto a piece of card I had cut using
C0723050 Fleur de Frame Die Set.


Tie a piece of ribbon across your two panels after assembly, and add a bow.


Using C0721963 Foam mounting Tape I attached the stamped image and the sentiment to my card.

Super quick, super easy.

Couture Creations products used


I hope you like my card and will try making it with the amazing product range from
Couture Creations.

Join us on Facebook and don’t forget to “like” our page.

https://www.facebook.com/couture.creations.aus


Wednesday, December 4, 2013

Reindeer Noses by Tracey Cooley

Hi Creators

Every year my 2 beautiful daughters like to give things out to their classmates. Last year was Rudolph chocolates and reindeer food.. this year they decided they wanted to give out reindeer noses....

I purchased some clear plastic bags, malteasers and jaffas' from my local supermarket. Adding 8 malteasers for each reindeer and 1 red for Rudolph to each bag. Cutting cardstock to match the width of my bags and the length required to go from the bottom of the bag and fold over for a front tab.
I then printed all the reindeers names on the back and the name of the contents on the front.

Then with the Couture Creations Scalloped Rectangle nesting dies I feed the cardstock through the die so only one end would cut and scalloped the front edge. I then stapled it to the bag of noses and set about making a cute Rudolph to decorate the front.


From the Couture Creations Oval Nesting Dies I cut 1 of the 2nd smallest ovals from light brown cardstock. Cut 1 Couture Creations Magical Christmas Tis the Season Die in a darker brown.
ink around the oval with a brown ink for definition.


Cut the snowflake so that 3 leaf shape and 2 stems shapes are left as above  ( you will get 2 from each snowflake)


add the half snowflack to your oval so that the leaf shapes become his ears and the stems become his antlers, folding the middle leaf shape over to form a tuft of mane. Add some small circles for eyes and a nose and viola.... RUDOLPH!! Attach this cute red nose reindeer to the front of your noses...repeat for all classmates and send to school!
 
Keep on Creating!
http://jordayla.blogspot.com.au/

Couture Creations Products Used
CO723044 Nesting Dies Oval
CO723047 Nesting Dies Scallop Rectangle
CO723557 magical Christmas Tis the Season
 

Sunday, December 1, 2013

Happy Birthday Card by Adriana Bolzon


Hello there everyone :) is it my turn again today 
Today, I have a Happy Birthday Card to share with you all
and the Dream Boat stamping set from the 3-in-1 sets
Butterfly Notes C0723400


Firstly I stamped the butterfly image with the music notes and words 
from the 3-in-1 set around the top of my cardstock.


I embossed 2 sheets of cardstock with the
All Occasions embossing folder - JAZMYNE C0723293
  and cut out all the leaves, gently inking all the raised
areas of the embossed leaves with brown and green inks.
I then arranged them to create a cluster of
leaves and flowers.

 
Thanks for looking! 


Couture Creations Materials
Please make sure you add your email address to get the latest newsletters.

Don't forget to join 
Couture Creations FACEBOOK

for all the latest updates from Couture Creations.
Cheers Adriana xx:)


Saturday, November 30, 2013

December Daily Mini Album by Jo Piccirilli

Hey everyone!  Well Christmas time is well and truly upon us.  Didn't that sneak up on me!  We were set a little challenge this month on the DT to come up with something along the lines of December Daily.  For those that aren't sure what this is, it is like a journal that you record all the things you do in the lead up to Christmas.  Here is my take on it.


I have made like a file folder to put my pics on of what my little family gets up to in the weeks leading up to Christmas.  I used a heap of Couture goodies in this album.  On the front is the Irish Dreams Doily Die from the Fantasia Collection.  I have also used the Rudolph die and some glitter paper for a bit of sparkle.  The flourish is Moments in Time again using some glitter paper.  The "Merry Christmas" is just one of many pieces that an be cut from the paper pad.

I have used the 12 x 12 Vintage Christmas paper pad to cover my folder.  This has heaps of pieces that can be fussy cut and used as embellishments. Her is a look at the inside.


In the top corner I have used the Mistletoe die and added a few red gemstones to the centre for a bit of extra interest.  The two corner pieces are were cut again from glitter paper using the Clements die.

 
I have embossed some pearlised red cardstock with the Moonlit Berries embossing folder and created a pocket for some tags.


In the paper pad there is a sheet of paper with these Christmas sentiments on.  Perfect for to make simple and quick Christmas cards using my rectangle and scallop rectangle nesting dies.  Again I added the  holly at the bottom.  Once you have given your cards away you could then use this pocket for the Christmas cards you receive!


This next part of the album has lots of space for photos and journaling

I used another of the sheets in the paper pad that was like a Christmas countdown and cut them out as embellishments.


This last page opens up to give a little more room for more photos.  Again I have used the Moonlit Berries embossing folder and at the bottom is the Santa's Sleigh die.


Thanks for stopping by and letting me share.  Hope I have inspired you to have a go at your own December Daily.
 
Until next time
 
Couture Creations Products Used

12 x 12 Paper Pad Vintage Christmas CO723551
Moonlit Berries Wrapped In Joy Collection CO723596
Irish Dreams Doily Die Fantasia Collection CO723224
Rudolph Magical Christmas Collection CO723560
Santa's Sleigh Magical Christmas Collection CO723561
Moments in Time Die CO723434
Clements Die Sophia Collection CO723500
Mistletoe Magical Christmas Collection CO723563
Rectangle Nesting Dies CO723046
Scallop Rectangle Nesting Dies CO723047
Oval Nesting Dies CO723044
Scallop Oval Nesting Dies CO723045
Double sided 6mm tape
Gemstones


https://www.facebook.com/couture.creations.aus


Monday, November 25, 2013

Miracle by Patti Hamil

Today I wanted to share a layout of our Granddaughter right after she was born! She is almost five months old now, time is passing too fast! I wanted a soft look so I kept the colors neutral with pink and a little bit of green.


Here are some close-ups of the details. I used the Poetry folder from the Elegance collection on a soft pink cardstock and then inked over it with white. It just suits the sweet photo!


I made the blooms from the Daisy Nesting Die! I used some chalk ink, Glitzin Glamour and Pearls!!!


Start by snipping into every second petal as shown below:


 Trim each side of the double petals to look like the one below, ink across each section and in the center.


Add a pearl and Glitzin Glamour around it to finish off the bloom! 


Couture Creations products used:

Friday, November 22, 2013

Product Showcase | Dream Boat 3 in 1 Collections Revisited

Our UK Distributor Creative Expressions had our Dream Boat Collection featured on Ideal World in the UK last week if you live in the UK and missed it here is the link, if you are not in the UK he is a look at our Dream Boat Collection.
Our Dream Boat collections combine stamps, dies and an embossing folder for quick, stunning projects in matching combinations…

 Butterfly Notes – CO723400
Doilies – CO723401
 Floral Wreath – CO723402
 Ornate Frame – CO723403
 Pattern Quilt – CO723404
Party Time – CO723405


For inspiring projects created using our Dream Boat Collection follow our board on Pinterest

 
 View our Design Team's projects including step by steps using Dream Boat Collection
HERE

 
https://www.facebook.com/couture.creations.aus